These are the Law specific DS-Print setup instructions which will allow you to print from your laptop directly to the MFD machines on Floors 1, 2 and 3 within the Faculty.
The following instructions guide you through the installation from start to finish. The images are based using Mac OS Big Sur and uses Konica as an example of installing a print driver..
1. Download the print driver for Mac from Konica Download Centre.
You'll need to search for the Bizhub c360i, and select the Driver for your version of the Mac's operating system (OS).


2. Read and Accept the License agreement and download the .dmg file.
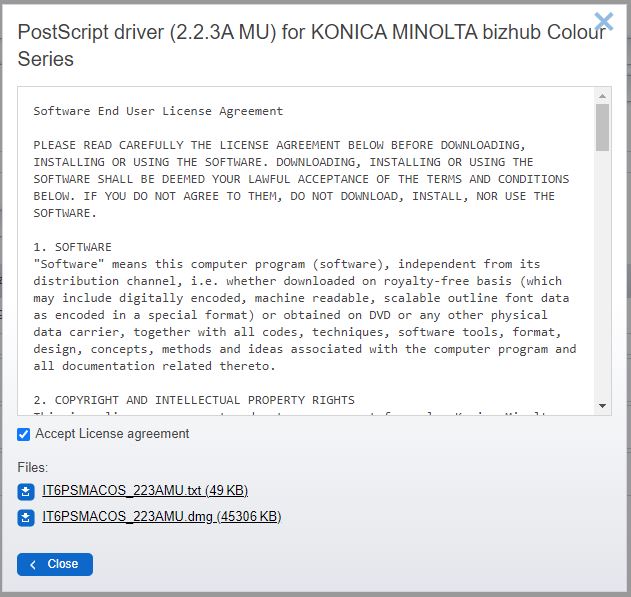
Once downloaded, a .pkg file will be mounted on your desktop. Run the .pkg file, step through the instructions, accept the licence agreement and this will install the print driver on your machine. You may need to enter your laptop password (not your Raven password) to complete the installation. At the end, it should state that the installation was successful.
3. From "System Preferences" choose "Printers & Scanners". If required click the locked padlock and authenticate.
4. Click + to add a printer.
5. If your toolbar has an 'Advanced' icon, click on it and set the Type drop down to "Windows printer via spoolers". If you don't have the 'Advanced' icon, see the tip below and then set the Type drop-down.
Tip: If the Advanced tab is not shown in the toolbar then right click in the toolbar where the red box is shown below, choose "Customise Toolbar" then drag the Advanced icon into the toolbar.

6. Set the URL to smb://print.pwfad.pwf.private.cam.ac.uk/Law_FindMe
7. Set Name field identical to the print queue name, don't use any spaces.
Example: Law_FindMe
8. Select "Select Printer Software..." from the "Use" drop down. Choose the correct driver (KONICA MINOLTA 360i PS) from the list. Using the search box makes it easier to find a specific driver from the long list.
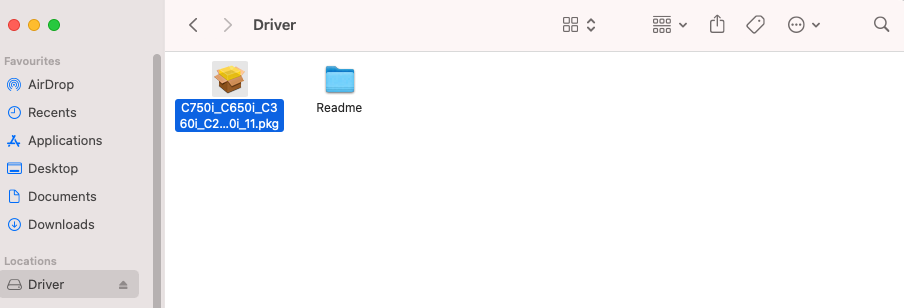
TIP: If the driver cannot be found in the list, you'll need to install the driver further. Click on the .pkg file that's been mounted (see image below).

Click on the Driver icon (under Locations) and then double click on the .pkg file "C750i_650i...."
Run through the install process.
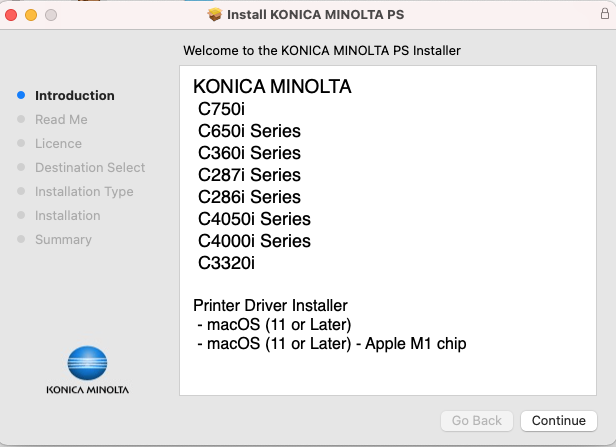
When you are able to select the driver, accept the presets to continue setting up the printer.
9. Click Add.
To Print
1. Print your document using the usual method from within the document's application. You will be prompted for authentication, enter your Raven credentials: i.e. your CRSid and Raven password.
2. Optionally, tick "Remember this password in my keychain"
3. Your document will print if successfully submitted and feedback will be provided. FindMe printers require submitted print job(s) to be released at the MFD before printing.
Install DS-Print Print Client (PaperCut) application
Installing the PaperCut client is highly recommended. It will give you feedback about jobs printed or rejected.
1. Download the client from here. Depending on your browser, the download may appear at the bottom-left of your browser window or under a download icon at the top-right.
2. Open the download then copy "PCClient" to your Applications directory and then run it.
3. Optionally, for convenience, you could drag the PCClient application to the Dock from Applications for quick access. Once added to the Dock, setting the PCClient application to "Open at Login" will ensure the application is always running.
The PaperCut (PCClient) application must be running to receive feedback.
Notes
Printing in Black & White
The printing system (PaperCut) analyses each submitted print job and charges accordingly to the configuration. Some print drivers create print jobs that appear to be black & white but contain colour information. This causes PaperCut to detect the job as colour. To prevent this you can configure a job to be black & white (also known as greyscale) in the Print dialogue box. The setting location varies from print driver to print driver. You may need to click the "Show Details" button first to display all available options.
One way to set this up is via Word. Open Word and print. Open the list under "Copies and Pages" and change the option to "Quality".
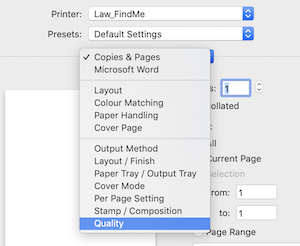
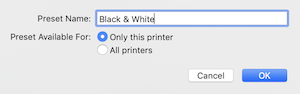
Change "Auto Color" to "Grey Scale" and then change "Default Settings" to "Change Current Settings as Preset".

Save the Preset as "Black & White" for this Printer. Therefore in future you can choose between printing in Color or Black and White.