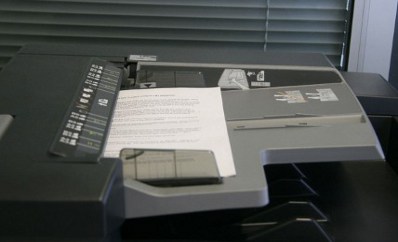
Place your document face up in the document tray.
|
 |
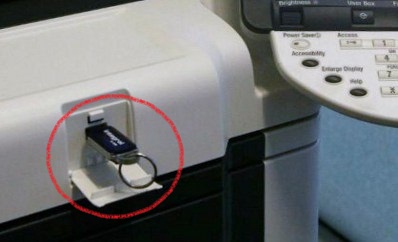
Put the USB stick into the port provided.
|
 |
|
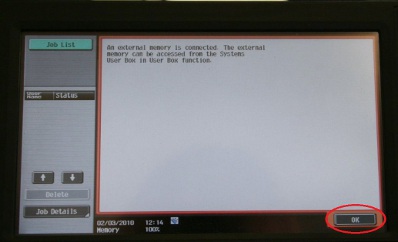
A screen will appear telling you that an external memory is connected. Press OK.
|
 |
|
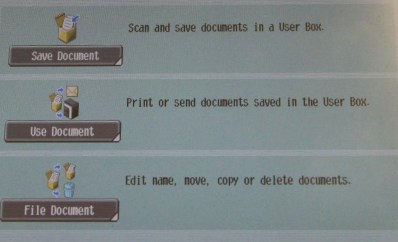
Press the User Box button.
|
 |
|
Press the Save Document button.
|
 |
|
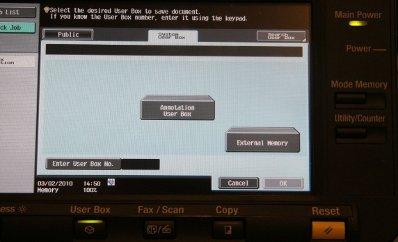
Press the System User Box button.
|
 |
|
Press the External Memory button and then OK.
|
 |
|
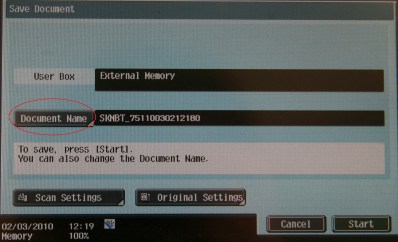
You are given a default document name which can be changed. Press the Document Name button.
|
 |
|
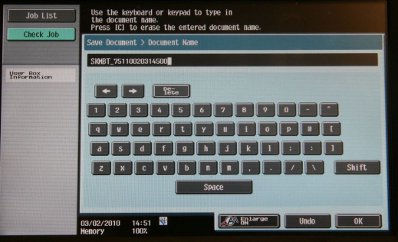
Now enter the name on the keyboard and press OK when you have finished.<
|
 |
|
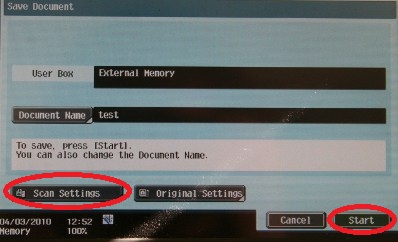
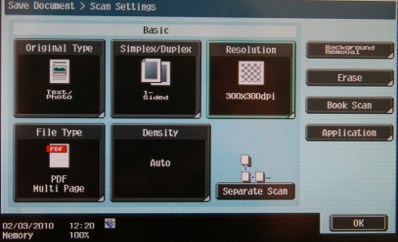
You can now either press Start to start scanning your document or Scan Settings to change properties of the document. For example you can change the resolution, file format or opt to scan from a double-sided document.
|
 ttttttttttttt ttttttttttttt |
|
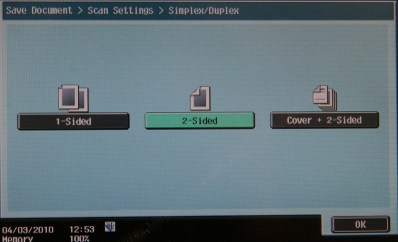
This is the screen you will see should you opt to change Scan Settings. If your original document is double sided press the Simplex/Duplex option and then OK.
|
 |
|
Press 2-sided and OK.
|
 |
|
You are now back at this screen. Press start to start scanning your document.
|
|
|